Late updated: 13 Aug 2024 11:08
Written by: Eleanor Hartman
Creating A DIY Solar Charger For Camping In The UK: A Practical Guide
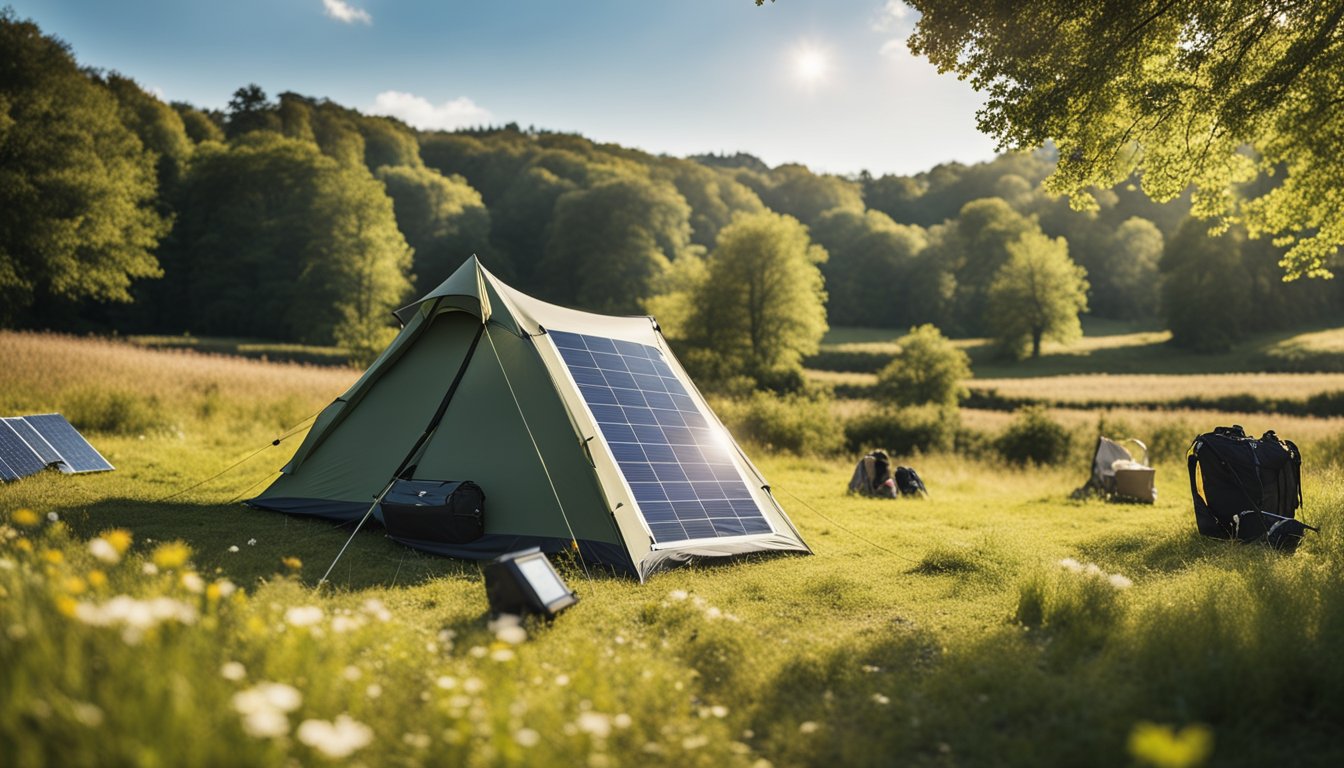
Creating your own solar charger for camping in the UK not only provides a sense of accomplishment but also guarantees a power source that harnesses renewable energy. Given the erratic weather and limited sunlight in the UK, designing a robust and efficient charger is essential. We can gain energy independence and reduce our carbon footprint by building a reliable DIY solar charger.

Solar chargers for camping are portable, making them ideal for trekking and adventures in rural locations. The components needed are typically easy to find, and many DIY tutorials are available to guide us through the process. By understanding the basics, from mounting the solar panels to wiring the battery, we can create a tailor-made solution to meet our needs.
In this guide, we'll explore the steps to build a highly efficient DIY solar charger suited to the UK's variable weather conditions. We’ll cover the materials, design considerations, and assembly techniques to ensure that our charger remains functional and reliable throughout our camping trips.
Key Takeaways
- DIY solar chargers offer energy independence for UK campers.
- Essential components include solar panels, battery, and wiring.
- Reliable and portable design is crucial for consistent performance.
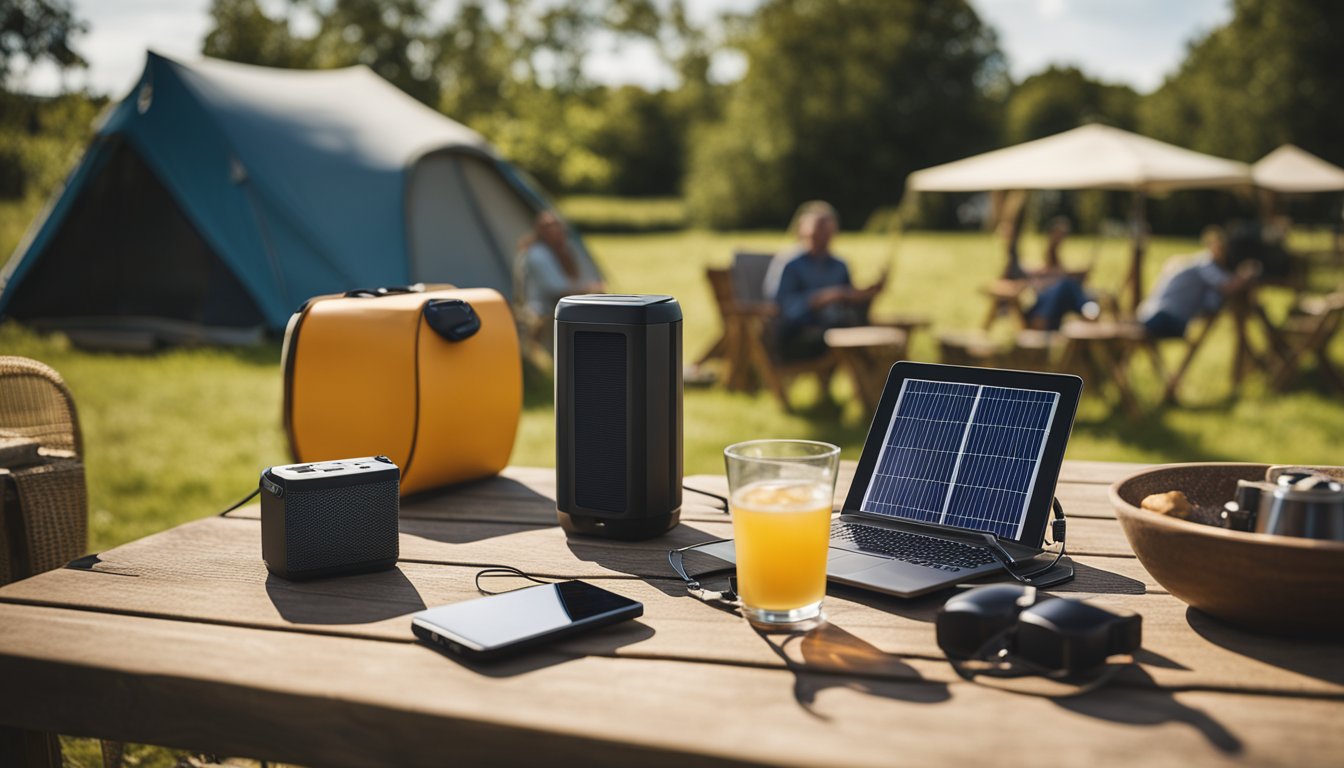
Understanding Solar Power for Camping
Harnessing solar power for camping involves utilising renewable energy to maintain our devices and equipment during outdoor adventures. It is both eco-friendly and reliable, aligning perfectly with our outdoor ethos.
Basics of Solar Energy
Solar energy is captured through solar panels, converting sunlight into electrical energy. This process is essential when camping, as solar panels provide a stable, renewable energy source. Panels typically consist of photovoltaic cells that generate direct current (DC) electricity.
Using solar power, we can charge batteries and power various devices without relying on the grid. Understanding the basics helps us choose appropriate components for building an efficient solution.
Choosing Solar Panels
Selecting the right solar panels is crucial. We need to consider the wattage and efficiency of the panels. For instance, 60W to 100W panels are common among campers. These panels should be portable and durable, suitable for the UK's diverse weather conditions.
Polycrystalline and monocrystalline panels are the primary options. Monocrystalline panels tend to be more efficient but also more expensive. It's essential to balance cost, efficiency, and portability based on our energy requirements.
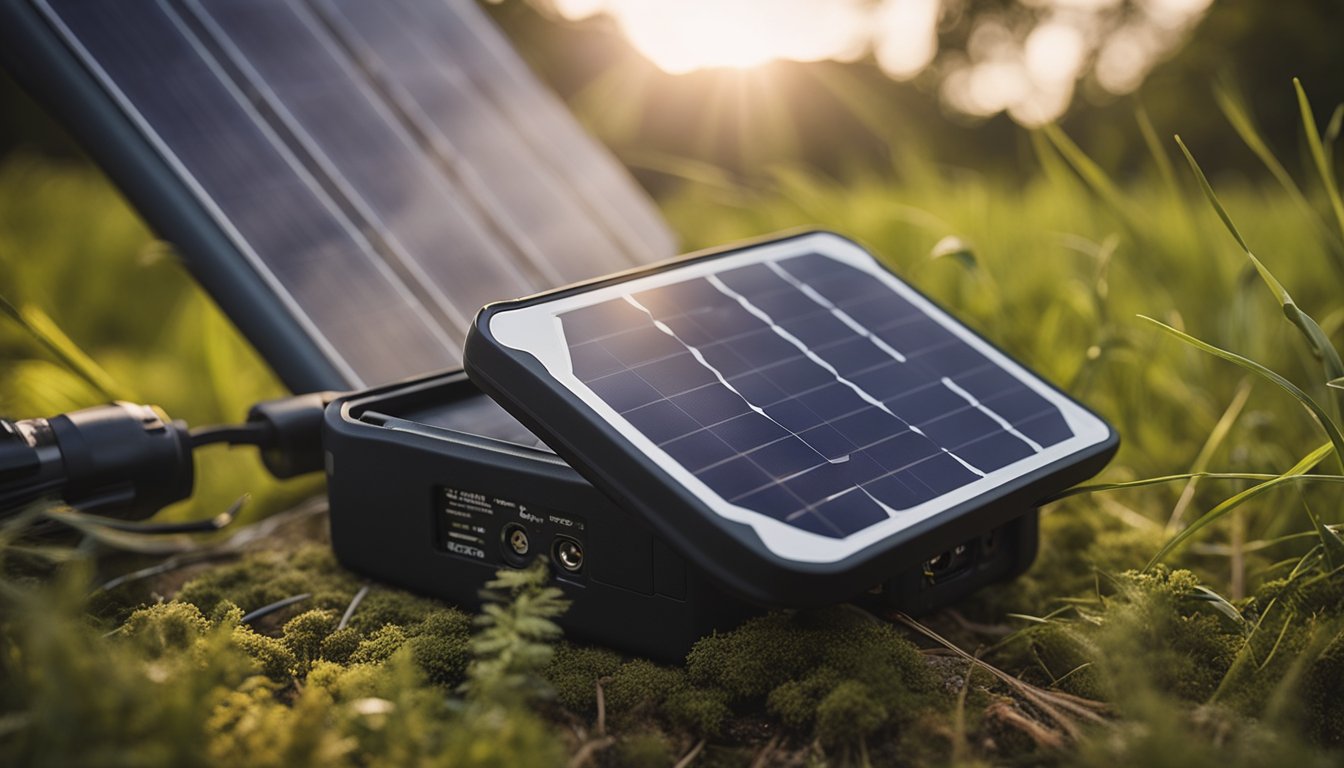
Batteries and Charge Controllers
For storage, batteries and charge controllers play significant roles. The battery stores the electricity generated by the solar panels. Common options include lithium-ion and lead-acid batteries. Lithium-ion batteries are lighter and have a longer lifespan, making them ideal for camping.
A charge controller regulates the energy flow from the panels to the battery pack, preventing overcharging and potential damage. These controllers are vital for maintaining battery health and ensuring a consistent energy supply.
Incorporating these components—solar panels, batteries, and charge controllers—ensures we have a reliable and sustainable power source during our camping trips in the UK. Understanding these elements enables us to create a tailored solar power setup that meets our outdoor energy needs.
Building Your Portable Solar Charger
Creating our own portable solar charger involves careful planning and precision. It's essential to gather the right materials, follow systematic assembly steps, and pay close attention to safety and efficiency.
Gathering Materials and Tools
Before we start, let's list the essential materials and tools:
- Solar Panels: Choose panels rated at 5.5V and 60mA for optimal performance.
- Battery Holder: A holder for two 18650 rechargeable batteries.
- USB Ports: A dual USB socket providing both Type-A and Type-C ports.
- Wattmeter: A digital LCD display for voltage monitoring.
- Soldering Iron and Solder: For secure connections.
- Multimeter: To check the circuit's continuity and safety.
- Additional tools: Wire cutters, zip ties, crimping tool, and screwdrivers.
Having all these components at hand ensures our project progresses smoothly without unnecessary interruptions.
Assembling the Solar Charging System
We begin by connecting the solar panels in series to achieve the desired voltage. Each panel's positive terminal connects to the next panel's negative terminal.
Next, secure the battery holder, ensuring a stable yet removable connection for battery maintenance. Solder the USB socket to our circuit, considering its polarity. The wattmeter should be integrated between the panels and the battery holder to monitor the system’s performance.
Properly crimp and secure connections using zip ties to avoid loose wiring. This setup ensures a neat assembly, reducing the risk of short circuits or component damage.
Ensuring Safety and Efficiency
Safety is paramount when handling electrical components. Use a multimeter to verify all connections before powering the system. This checks for continuity and correct polarity, preventing potential faults.
Install a switch to control power flow and avoid unnecessary battery drain. Adding fuses protects our circuit from overcurrent situations. Ensuring our solar panels and components are waterproof shields our system from different weather conditions.
Weight and portability matter for camping so, choose lightweight materials. Regularly check our charger for wear and damage. This proactive maintenance keeps it in peak condition, ensuring efficient and consistent power output during our outdoor adventures.
Frequently Asked Questions
In this section, we address common questions about creating DIY solar chargers for camping. These solutions range from simple projects using household items to more advanced setups for various electronic devices.
How can one construct a solar charger using household items?
To build a solar charger using household items, you'll need a small solar panel (e.g., 5V output), an existing USB cable, a diode, and some basic tools like a soldering iron. Solder the positive lead of the solar panel to the diode’s input and connect the output to the USB cable’s red wire (positive). The black wire is connected directly to the solar panel's negative terminal.
What is the process for creating a 12V solar charger on your own?
Creating a 12V solar charger requires a 12V solar panel, a charge controller, a 12V battery, and appropriate wiring. First, connect the solar panel to the charge controller. Then, connect the charge controller to the battery. Finally, use the battery to power 12V devices. This setup ensures voltage regulation and prevents battery overcharging.
Can you guide me through building a solar power bank for my mobile phone?
Building a solar power bank involves using a solar panel (5V), a lithium-ion battery, a charge controller, and a USB output module. Connect the solar panel to the charge controller, which then charges the lithium-ion battery. The USB output module is connected to the battery, allowing you to charge your mobile phone directly from the power bank.
What are the steps to creating a solar-powered phone charger suitable for camping?
For a camping-friendly solar phone charger, combine a foldable solar panel (10W or higher), a charge controller, and a portable battery pack. Connect the solar panel to the charge controller, and then link the charge controller to the battery pack. This configuration provides a reliable power source for charging your phone during camping trips.
Is it permissible to self-install solar panels for camping purposes in the UK?
Yes, it is permissible to self-install solar panels for camping in the UK. Portable solar panels for camping are considered personal use and do not require special permissions. Ensure you follow safety guidelines when handling electrical components, and use proper tools to secure the panels, especially in outdoor and variable weather conditions.
How can I make a solar USB charger that includes a battery backup system?
To create a solar USB charger with battery backup, you'll need a small solar panel (5V), a charge controller, a rechargeable battery pack (preferably lithium-ion), and a USB output port. Connect the solar panel to the charge controller, then wire the charge controller to the battery pack. Finally, link the USB output port to the battery pack, allowing you to charge your devices directly.